Best Headlight Cleaning & Restoration Products

18 products ready to shop 18 products Last checked Checked:

Top Headlight Restore Picks from the TCC Team

Product Our Rating Key Specs
Ceramic Headlight Restoration Kit
4.7

A 3-step ceramic restoration kit that removes oxidation and bonds a UV-protective ceramic coating to headlights, backed by a limited lifetime warranty.

  • True ceramic coating finish
  • No power tools needed
  • UV protection built-in
  • Lifetime warranty included
Check Latest Price
Headlight Restoration Kit
4.3

A 2-step manual kit that removes yellowing, fine scratches, and matting before permanently sealing plastic headlamp covers against future fading.

  • No power tools needed
  • 3000 and 5000 grit sanding pads
  • UV sealant included
  • Treats up to 4 headlights
Check Latest Price
Ultra Headlight Restoration Kit
4.5

A multi-stage abrasive system using Trizact technology to remove yellowing, scratches, and oxidation from plastic lenses, finished with a wax protectant.

  • Trizact abrasive discs
  • Progressive grit system
  • Includes masking tape
  • Works on all plastic lenses
Check Latest Price
One-Step Car Headlight Restoration Kit
4.3

A drill-powered kit using Meguiar's Plast-RX formula to remove oxidation, yellowing, and fine scratches from plastic headlights in a single buffing step.

  • Single-step correction
  • Drill-powered wool pad
  • Safe on all clear plastics
  • No sanding required
Check Latest Price
NuLens Headlight Renewal Kit
4.2

A drill-mounted foam ball kit with PowerPlastic 4Lights polish that restores clarity and leaves an oxidation-inhibiting polymer layer in a single treatment.

  • Signature PowerBall tool
  • Polymer protective layer
  • Reusable polishing tool
  • Treats up to 4 headlights
Check Latest Price
#1 Best overall
Ceramic Headlight Restoration Kit (CERAKOTE)
Ceramic Headlight Restoration Kit
4.7
  • True ceramic coating finish
  • No power tools needed
  • UV protection built-in
  • Lifetime warranty included
#2 Top pick
Headlight Restoration Kit (SONAX)
Headlight Restoration Kit
4.3
  • No power tools needed
  • 3000 and 5000 grit sanding pads
  • UV sealant included
  • Treats up to 4 headlights
#3 Best value
Ultra Headlight Restoration Kit (3M)
Ultra Headlight Restoration Kit
4.5
  • Trizact abrasive discs
  • Progressive grit system
  • Includes masking tape
  • Works on all plastic lenses
#4 Great Value!
One-Step Car Headlight Restoration Kit (Meguiar's)
One-Step Car Headlight Restoration Kit
4.3
  • Single-step correction
  • Drill-powered wool pad
  • Safe on all clear plastics
  • No sanding required
#5 Premium pick
NuLens Headlight Renewal Kit (Mothers)
NuLens Headlight Renewal Kit
4.2
  • Signature PowerBall tool
  • Polymer protective layer
  • Reusable polishing tool
  • Treats up to 4 headlights
Headlight Restoration

Clear Lenses. Better Light. Safer Driving.

Oxidised headlights reduce light output and affect safety. UV damage breaks down the plastic lens surface over time, leaving it rough and hazy. Cloudy lenses scatter light instead of projecting it forward, making night driving harder. Washing won't touch this kind of damage as the oxidation is bonded to the material. Restoration removes it properly.

2 kit types
UV the main cause
MOT legal consideration
Seal or it returns

Cloudy Headlights Are a Safety Issue, Not Just a Cosmetic One

Oxidation bonds to the lens surface and cannot be washed off. Only restoration removes it.

Reduced light output affects night visibility

Cloudy lenses scatter light instead of projecting it forward. The beam becomes diffuse and shorter, reducing your ability to see hazards ahead at night. The difference between a clear lens and a heavily oxidised one can be significant in terms of actual driving visibility.

There is a legal consideration

If headlights don't meet brightness standards, a car can fail an MOT. Oxidation directly reduces how much light passes through the lens. Restoration often brings output back within acceptable limits, making it a practical as well as cosmetic improvement.

Protection after is not optional

The improvement fades over time unless the lens is sealed afterwards. UV exposure continues once the car is back on the road and the oxidation process restarts without a protective barrier. A UV sealant applied after restoration is what determines how long the results last.

Headlight Restoration Is (and Isn't)

Restoration is targeted at oxidation. It cannot fix structural or internal lens damage.

✓ What it is

  • A process that removes the oxidised layer from plastic headlight lenses, restoring transparency so light passes through properly
  • Effective on surface haze, yellowing, light clouding, and early to moderate UV damage that has not yet gone structural
  • A cost-effective alternative to lens replacement for headlights that are degraded but not physically damaged
  • A process that can deliver results within 30 to 60 minutes using the right kit and technique

✗ What it isn't

  • A repair for physical damage such as cracks, deep pitting, or internal moisture, these lenses need replacing
  • A permanent fix without protection, UV exposure begins again the moment the car is back on the road
  • A substitute for replacement when the lens is structurally compromised or the damage is internal
  • A fix that washing or paint polishing will achieve, the oxidation is chemically bonded to the lens material

When the lens needs replacing instead

If the lens has visible cracks, deep gouging, internal fogging that doesn't wipe away, or moisture inside the housing, no restoration kit will help. The lens casing itself is compromised and the only proper solution is a replacement unit. Attempting restoration on a cracked lens wastes time and product without improving either appearance or light output.

Two Kit Types for Different Levels of Oxidation

Match the kit to the severity of the oxidation. Starting lighter is always the safer approach.

For mild to moderate oxidation

Polishing-Based Kits

Use abrasive compounds to remove light surface oxidation from lenses that are dull but not heavily textured or yellowed. Quick to apply and low risk as a starting point.

Best starting point
  • Apply the compound with a cloth or applicator pad, work it into the lens in circular motions, then buff off cleanly
  • Work well on early-stage clouding where the lens looks dull but the surface still feels relatively smooth
  • Some kits include a UV sealant to apply afterwards, which is the step that determines how long results last
  • If the oxidation is thick or the surface feels rough and textured, polishing alone may not cut deep enough to clear it
Start here if the clouding is mild. Upgrade to a sanding kit only if polishing alone does not produce clear results.

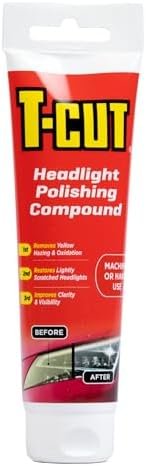
For heavy oxidation and yellowing

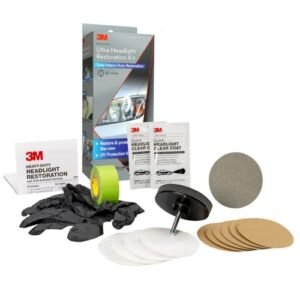
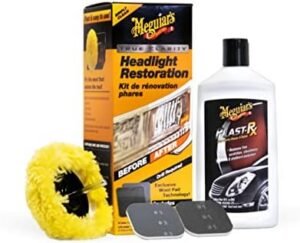
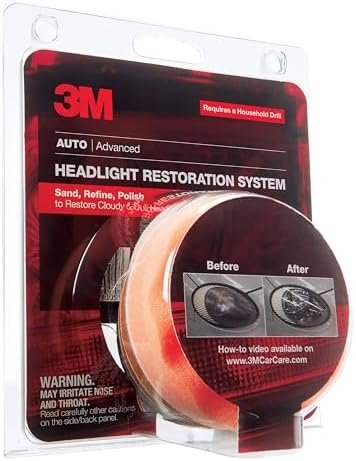
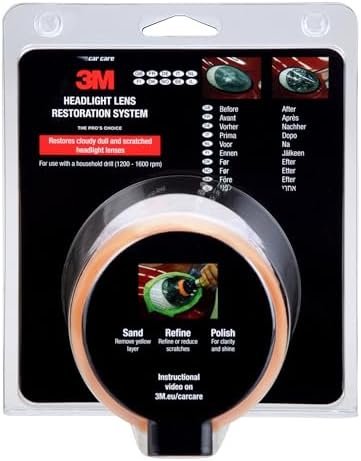
Sanding and Multi-Step Kits

Include wet-sanding pads in multiple grits to physically remove the degraded lens layer before polishing smooth. More effort but dramatically better results on heavily oxidised lenses.

More aggressive
  • Start with a coarser grit wet-sanding pad to strip the oxidation layer, then work through progressively finer grits to remove the sanding marks
  • The final step is polishing, which restores the lens to a clear, glassy finish after sanding
  • The visual improvement is dramatic on heavily oxidised lenses that polishing alone cannot restore
  • Removes more material permanently, so an even technique and consistent pressure across the lens surface is essential
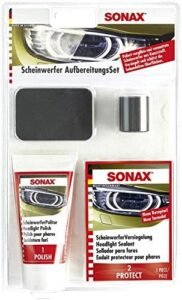
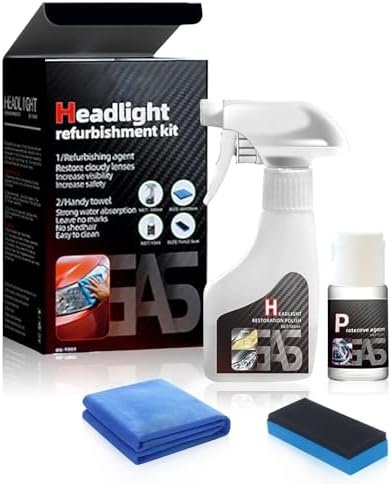
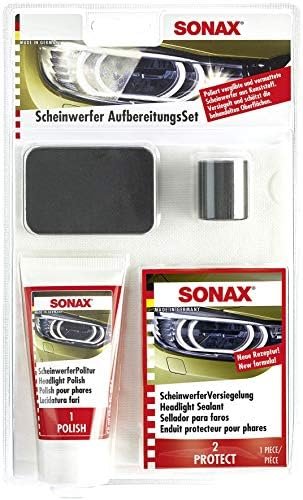
UV sealant after sanding kits is not optional. Without it, the freshly exposed lens surface will cloud over again within months.

What Level of Oxidation Are You Dealing With?

The right approach depends on how far the degradation has progressed.

1
Mild oxidation

Dull or lightly hazy

Lens surface feels smooth but has lost its clarity. Slight yellowing or milky appearance. Light passes through but the beam projection is visibly reduced. Early-stage UV damage.

Polishing-based kit
2
Heavy oxidation

Yellowed or rough surface

Lens feels textured or rough to the touch. Significant yellowing or deep haze. Light output is noticeably reduced. Polishing alone will not be enough to restore this level of damage.

Sanding and multi-step kit
3
Structural damage

Cracks, pitting, or internal fog

Visible cracks, deep pitting, internal moisture, or clouding that does not sit on the surface. No restoration kit addresses physical or internal lens damage. Replacement is the only solution.

Replacement needed

Matching the Kit to the Condition

Three scenarios and one rule that applies to all of them.

Light haze or early oxidation

Polishing-based kits are quick, low-risk, and effective at this stage. They are a good first step when the clouding is mild and the surface still feels reasonably smooth. Apply, buff off, and seal with the included UV sealant. If the results fall short, step up to a sanding kit.

Heavy oxidation or yellowing

Sanding kits offer the level of restoration that heavily degraded lenses need. The extra effort involved in working through multiple grits is worth it when polishing alone will not make a meaningful difference. The visual improvement on a badly oxidised lens can be dramatic.

Cracks, internal fogging, or deep pitting

No restoration kit will fix structural or internal lens damage. If the lens has visible cracks, moisture inside the housing, or deep physical damage, the only proper solution is a replacement lens unit. Attempting restoration on a compromised lens wastes time without improving safety or appearance.

When in doubt, start less aggressive

Always try a polishing-based kit before committing to sanding. Sanding removes material permanently and requires a more careful technique to avoid creating uneven patches across the lens surface. Starting with a polishing kit and stepping up only if needed is the lower-risk approach for any lens you are unsure about. See also our correction hub and sitemap for related categories.

What Goes Wrong Most Often

Three mistakes that either damage the lens or mean the results disappear within months.

Skipping UV protection after restoration

This is the most common mistake by far. Without a UV sealant or protective film applied after restoration, the clarity fades quickly, sometimes within just a few months. The freshly exposed lens surface is even more vulnerable to oxidation than before. Sealing is what makes the result last.

Over-sanding or sanding unevenly

Sanding removes material permanently. Pressing too hard on one area, or spending more time on one section than another, creates uneven patches that become visible once the lens dries. Work with consistent, even pressure across the entire lens and keep the pad moving at all times.

Using restoration products on cracked lenses

Restoration addresses surface oxidation only. It cannot repair cracks, deep physical damage, or internal moisture. If the lens is structurally compromised, applying a restoration kit does nothing to improve either appearance or light output. The lens needs replacing, not restoring.

Two Steps That Determine How Long It Lasts

The restoration removes the oxidation. These steps are what protect the result.

01

Apply UV protection immediately

Whether the kit includes a sealant or you apply one separately, this step is essential and should be done the same day as the restoration. UV protection slows down the oxidation process and keeps the lenses clear significantly longer. Without it, the clarity begins to fade as soon as UV exposure resumes.

02

Wash gently and avoid harsh chemicals

Once restored, treat the headlights carefully. Aggressive cleaners, rough cloths, or abrasive wash products can damage the freshly restored surface and reduce how long the clarity lasts. Use a gentle pH-neutral car shampoo and a soft cloth or microfibre when washing the lens area.

03

Reapply protection periodically

UV sealants break down over time, especially on surfaces as exposed as headlights. Check the condition of the lenses every six to twelve months and reapply a UV sealant as needed. Keeping the protective layer in good condition is what prevents the oxidation from returning and extends the time between full restoration sessions.

Restoration works best when it is followed by protection. The results are temporary if you skip the final sealing step. Get the protection on the same day as the restoration, keep the lens away from harsh chemicals, and reapply the sealant periodically. Do that and a single restoration session can keep your headlights clear for a year or more.

Browse All Headlight Restore

Click through to check today's price and availability from trusted retailers.

FAQs

Compounds contain more abrasive particles for heavy defect removal, while headlight restorees are finer and used for refining the finish.

Hand headlight restoreing is possible but time-consuming and less effective. A dual-action headlight restoreer is highly recommended for better results.

Only when needed to remove defects. Over-headlight restoreing removes clear coat. Aim for every 1-2 years or when defects become noticeable.

Yes, headlight restoreing removes defects and ensures a perfect surface for coating application. Skipping this step can lock in imperfections.

Browse by Category

Find the best UK detailing products across our range of categories.

Our methodology

Your independent guide to the best car detailing products in the UK.

Step 01 · Sourcing

We start with every option

Hundreds of car cleaning products, pulled from trusted UK retailers across every category - shampoos, sealants, interior, glass, tools and more.

Step 02 · Scoring

Ranked by real-world signals

Customer ratings, review volume, price-to-performance and editor testing notes feed the score. No brand payments, ever.

Step 03 · Freshness

We keep it fresh and clean

Total Car Clean is 100% reader-supported. We may earn a small commission from affiliate links, but we remain unbiased to help you find the best products.

Independent No paid rankings UK-focused