Most glass sealant problems don’t come from the product. They come from how it’s applied and removed.
When sealant smears, hazes, or doesn’t bead properly, it’s usually because too much was used, it wasn’t buffed correctly, or the application was never fully levelled. We’ll explain how glass sealant should behave during application, what to look for as you work, and how to tell whether it has bonded properly.
This isn’t about speed or shortcuts. It’s about getting predictable results.
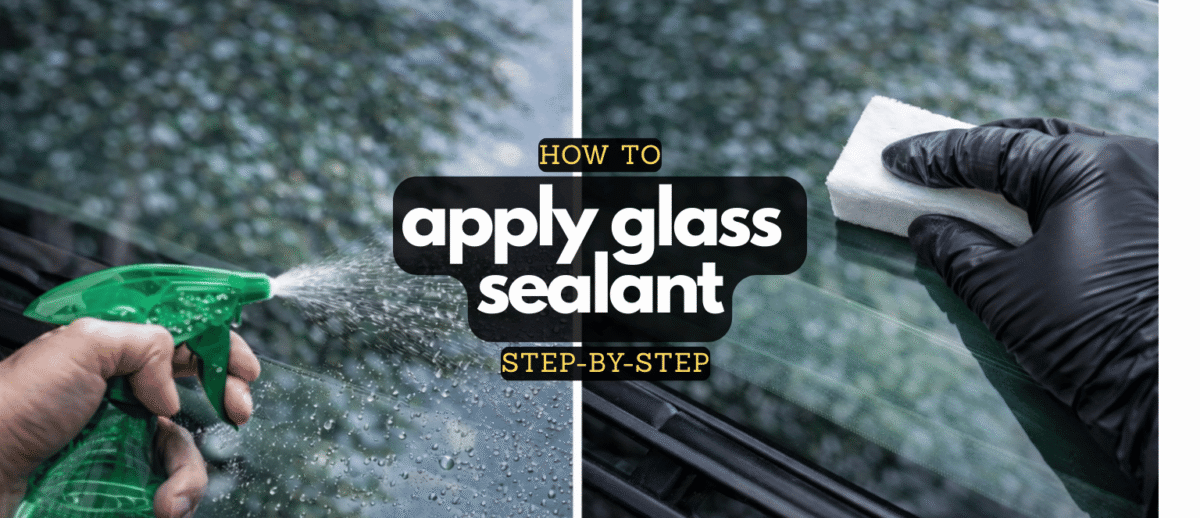
What glass sealant should look like when applied correctly
Glass sealants are thin by design. They’re not meant to be visible once applied.
During application, a sealant will usually:
- Spread easily across the glass
- Lightly haze as it begins to set
- Wipe off cleanly when ready
If the product feels grabby, smears endlessly, or leaves greasy patches, something in the process is off, most often the amount used or the timing.
Where people usually go wrong
The same application mistakes come up again and again.
- Using too much product
More sealant doesn’t mean more protection. Excess product is harder to remove and often wipes unevenly. - Applying to large areas at once
Sealants begin to set quickly. Covering too much glass makes timing inconsistent and buffing more difficult. - Buffing too early or too late
If buffed too soon, the sealant smears. Too late, and it becomes harder to remove evenly. - Using the wrong cloth for removal
Thick or contaminated cloths drag residue and undo otherwise good application.
These issues often show up later as poor water beading, even though the problem started during application.
What actually works
Applying glass sealant works best when the process is controlled and methodical.
In most cases:
- Apply a small amount to a clean applicator
- Work in small, manageable sections
- Spread the product thinly and evenly
- Allow it to set as directed
- Buff gently using a clean, dry cloth
Buffing is not about pressure. It’s about removing excess product without disturbing what has bonded to the glass.
Once removed, the glass should feel smooth but not greasy, and look clear when viewed from different angles.
At this stage, products designed as Glass Sealants are doing what they are meant to do, forming a uniform protective layer rather than hiding surface issues.
How to check if the sealant has bonded properly
A simple water test tells you more than appearance alone. After the sealant has had time to settle:
- Lightly spray water onto the glass
- Watch how it behaves
When the sealant has bonded properly, water forms tight beads and rolls away easily. If water spreads out, clings to the glass, or behaves unevenly, it usually means:
- Coverage was uneven
- Buffing was incomplete
- Residue interfered with bonding
This doesn’t always mean you need to strip everything and start again, but it does mean the application wasn’t ideal.
When this approach doesn’t apply
If glass shows:
- Patchy water behaviour in specific areas
- Fast failure where wipers sweep
- Smearing that won’t buff away
The issue often traces back to preparation rather than application. Reapplying sealant without fixing the underlying problem usually leads to the same result.
Final takeaway
Glass sealants don’t need heavy application to work well. They need even coverage, correct timing, and careful removal.
Get those right and the sealant behaves predictably. Miss them and durability suffers much sooner than it should.
Related products
The following product types support the process described above:
- Glass Sealants – used to add water-repellent protection once glass is properly prepared
- Glass Cleaners – for removing oils and residue before and after application
- Microfibre Cloths – dedicated glass cloths for application and buffing
- Applicator Pads – to apply sealant evenly and thinly
These products support correct technique, preparation and application determine how well they perform.