What is Iron Removal and Why it Matters
Iron contamination embeds itself into paint and wheels. Washing won’t shift it.
Brake dust and industrial fallout bond to surfaces, causing rough paint and visible speckling. From our experience, skipping iron removal limits how clean the surface can actually feel—no matter how thorough the wash.
What Iron Remover Is (and Isn’t)
Iron removers are chemical decontamination products that dissolve embedded iron particles.
They don’t clean general dirt. They don’t replace washing or claying. They target bonded metallic contamination that other products can’t reach.
The purple colour change many products show isn’t essential for the product to work, it just makes it easier to see where contamination is present.
Iron Remover Types
-
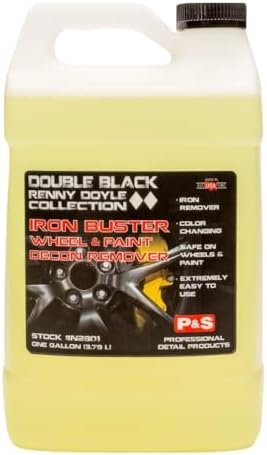
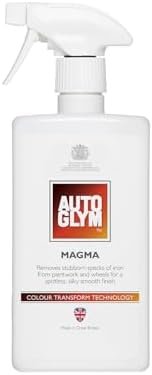
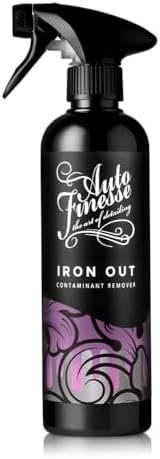
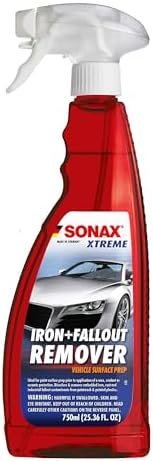
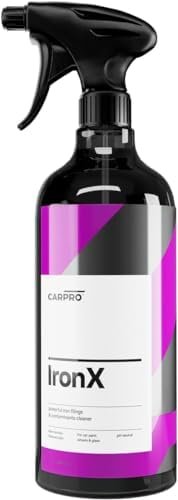
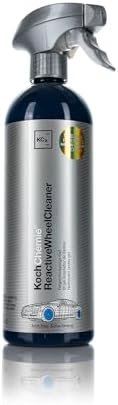
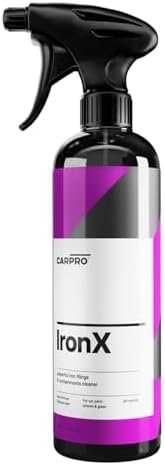
Spray-On Iron Removers
- Spray-on formulas are the most common. They’re easy to apply to both paint and wheels and suit regular maintenance.
- Most users find these simple to work with, just spray on, wait and rinse off.
-
Gel or Thickened Iron Removers
- Gel-style products have longer dwell time. They cling to vertical panels and heavily contaminated areas better than sprays.
- What we see in reviews is that people tend to use these less frequently but find them effective when contamination is stubborn. They’re particularly useful for wheels where brake dust builds up quickly.
How to Choose the Right Iron Remover
- For regular maintenance
Use a standard spray iron remover. It’s straightforward and effective for paint that’s lightly to moderately contaminated.
- For heavy contamination
Gel-style products used occasionally handle embedded iron more effectively, especially on wheels or neglected paintwork.
- For sensitive users
Low-odour formulas exist, though most iron removers smell strong—it’s part of how the chemistry works.
Common Iron Removal Mistakes
- Applying to hot panels
Iron removers dry too quickly on warm surfaces, reducing effectiveness and making rinsing harder. We always apply in the shade or on cool panels.
- Letting product dry
If the product dries before you rinse, it leaves residue that’s difficult to remove. This is easily avoided—just don’t leave it too long.
- Overusing on lightly contaminated cars
Iron removers aren’t needed every wash. Using them too often wastes product and isn’t necessary unless contamination is actually present.
What to Do After Iron Removal
- Rinse thoroughly
Make sure all product is removed. Any residue left behind can interfere with protection or make paint feel sticky.
- Continue with clay if needed
Iron removers handle embedded metallic particles, but clay removes other bonded contamination. If the paint still feels rough, claying is the next step.
Iron removal reveals how clean paint actually is. It’s a straightforward process, there’s just no point overdoing it if contamination isn’t there.
FAQs
Is iron remover worth it?
Yes, if your car is exposed to brake dust regularly or if you live near railways or industrial areas. Iron remover dissolves embedded metal particles that washing alone can’t shift. We’ve found it makes the most visible difference on wheels, where brake dust builds up fastest. For cars that are garaged and driven lightly in cleaner areas, you might not need it as often. The test is simple: if your paint feels rough after washing, or if you see rust-coloured spots, iron remover will help. Most people use it a few times a year rather than every wash.
Do I need to clay bar after iron remover?
Not always. Iron remover handles metal contamination chemically, but it won’t remove everything. If the paint still feels rough after using iron remover and rinsing, then claying is the next step. From our experience, many cars feel perfectly smooth after iron removal alone, especially if they’re maintained regularly. Run your hand over the paint after it’s clean and dry. If it feels glassy, you’re done. If it still feels gritty, clay will finish the job.
Why does iron remover turn purple?
The purple colour is a chemical reaction between the iron remover and the iron particles on your paint. As the product dissolves the contamination, it changes colour to show you it’s working. Darker purple means more contamination. This reaction is useful because it gives you visual confirmation that there’s iron present. Wheels often turn deep purple within seconds because they collect so much brake dust. Bodywork might show less dramatic colour change, but that doesn’t mean the product isn’t working.
How to use iron remover on a car?
Start with a clean, cool car. Spray the iron remover onto the paintwork or wheels, making sure you cover all surfaces evenly. Let it dwell for the time specified on the bottle, usually five to ten minutes. You’ll see it turn purple as it reacts with iron particles. Don’t let it dry on the surface. If it starts looking patchy or dry, rinse it off immediately. After the dwell time, rinse thoroughly with a pressure washer or hose. We’ve found that working panel by panel in the shade gives you better control, especially on warm days.
Will iron remover damage car paint?
No, when used correctly. Iron removers are pH-balanced and designed specifically for automotive paintwork. The risk comes from letting the product dry on the surface or using it on hot panels, which can leave staining or streaks. Always follow the instructions: apply to cool panels, don’t exceed the dwell time, and rinse thoroughly. We’ve not seen damage from proper use, but rushing the process or ignoring the guidelines can cause issues. Test on a small area first if you’re concerned.
How long does an iron remover take to work?
Most iron removers need five to ten minutes to work properly. You'll see the purple reaction start within a minute or two, but letting it dwell for the full time ensures it dissolves as much contamination as possible. Wheels often need the full dwell time because they collect more brake dust. Lightly contaminated bodywork might only need five minutes. The key is not letting it dry, if the product starts looking dry or patchy before the time is up, rinse it off. Working in shade helps it stay wet longer.
Do you apply iron remover on a wet or dry car?
Dry. Iron remover works through a chemical reaction with iron particles, and water dilutes the product, making it less effective. After washing your car, dry it completely before applying iron remover for the best results. If you're in a rush and the car is only slightly damp, it'll still work, just not as efficiently. The chemical reaction will be weaker and you won't get the same level of decontamination. From what we see in reviews, people who dry the car first notice much stronger purple reactions and better overall results.
How often should you use iron remover on your car?
For most people, two to four times a year is enough. If you drive on motorways regularly, live near railways, or park near industrial areas, you might need it more often. Wheels usually need it more frequently than bodywork because they're closer to the brake dust source. Over-using iron remover doesn't help and just wastes product. The paint will tell you when it's needed, if it feels rough after washing or you notice rust-coloured spots, it's time. We use it seasonally or before applying wax or sealant.