How to Improve Safety and Appearance with Headlight Restoration
Oxidised headlights reduce light output and affect safety. UV damage breaks down the plastic lens surface over time, leaving it rough and hazy. Cloudy lenses scatter light instead of projecting it forward, which makes night driving harder.
Washing won’t touch this kind of damage , the oxidation is bonded to the material. What stands out is how quickly headlights age. A car can look well-maintained everywhere else, but clouded lenses make it appear neglected.
Beyond appearance, there’s a legal consideration. If your headlights don’t meet brightness standards, the car can fail an MOT. Restoration often brings them back within acceptable limits.
What Headlight Restoration Is (and Isn’t)
Restoration removes the oxidised layer from plastic headlight lenses, clearing the haze and restoring transparency so light can pass through properly.
It won’t repair physical damage like cracks, deep pitting, or internal moisture. If the lens is structurally compromised, you’ll need a replacement.
The improvement fades over time unless the lens is protected afterwards. UV exposure continues once the headlight is back on the car, so protection products or films are essential for making results last.
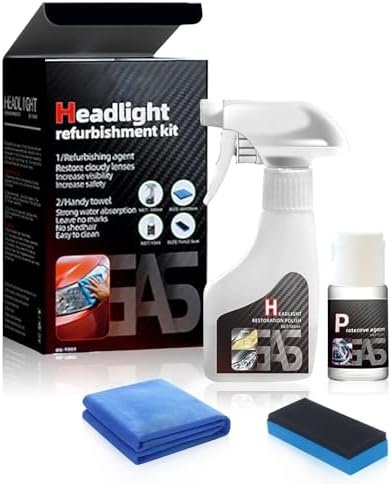
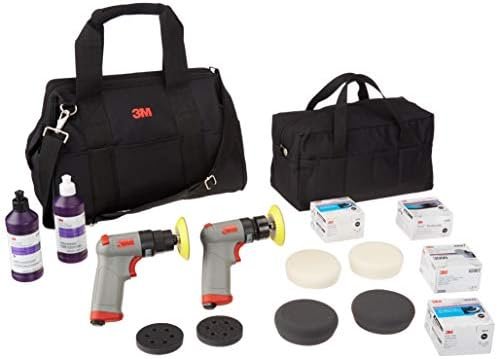
Headlight Restore Types (Where It Matters)
-
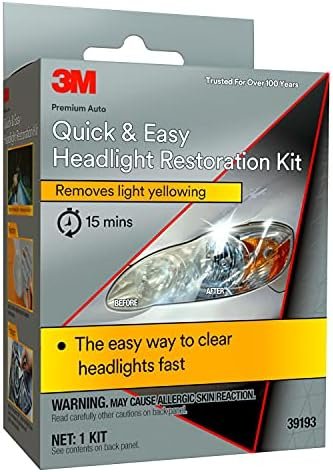
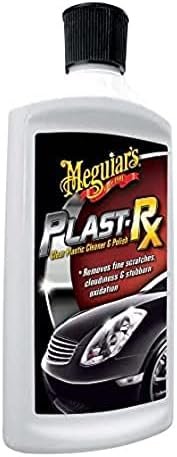
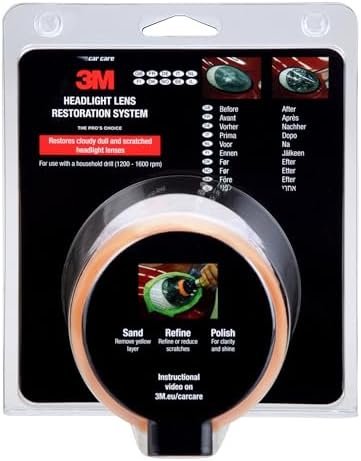
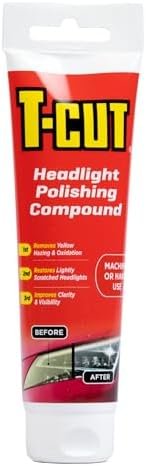
Polishing-Based Kits
- Polishing kits use abrasive compounds to remove light oxidation. They’re designed for headlights with mild clouding , the kind where the lens looks dull but isn’t heavily textured or yellowed.
- Application is straightforward. You apply the compound with a cloth or applicator pad, work it into the lens, and buff it off. Some kits include a sealant to apply afterwards for UV protection.
- What stands out from reviews is that polishing kits work well on early-stage clouding but struggle with anything more severe. If the oxidation is thick or the surface feels rough, polishing alone won’t cut deep enough.
-
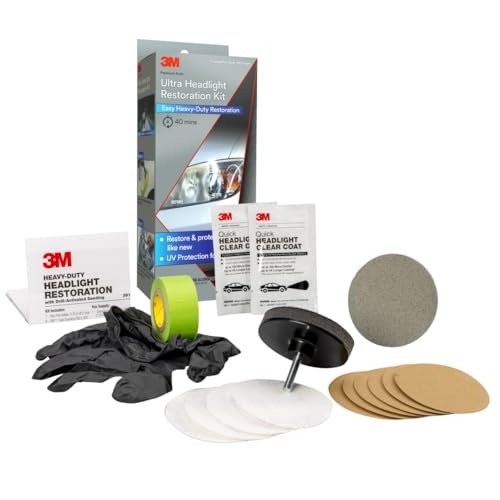
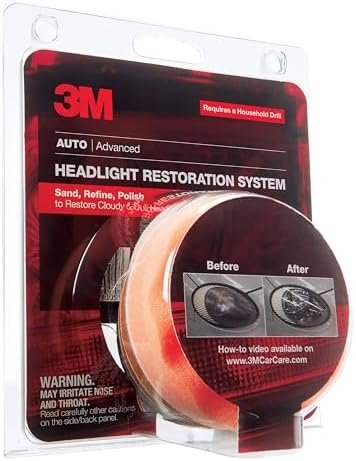
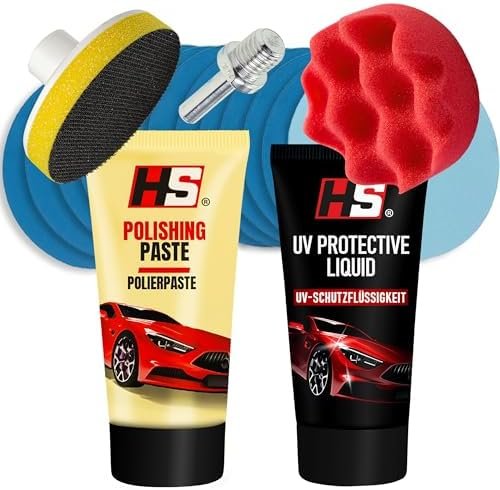
Sanding & Multi-Step Kits
- Sanding kits are more aggressive. They include wet-sanding pads in various grits, which physically remove the damaged layer before polishing the lens smooth.
- The process takes longer and requires more care. You start with a coarser grit to strip away the oxidation, then move through finer grits to remove the sanding marks. The final step is polishing, which restores the lens to a clear, glassy finish.
- We’ve found that the visual improvement with sanding kits is dramatic, especially on heavily oxidised lenses. The trade-off is that you’re removing more material, so there’s a greater risk of uneven results if you’re not careful.
- Most sanding kits include a UV sealant. This step is critical , without it, the headlights will cloud over again within months.
How to Choose the Right Approach
- For light haze or early oxidation
Polishing-based kits are quick and low-risk. They’re a good first step if the clouding is mild and you want a simple fix.
- For heavy oxidation or yellowing
Sanding kits offer the restoration potential needed for severely degraded lenses. The extra effort is worth it when polishing alone won’t make a noticeable difference.
- If the lens has cracks or internal fogging
No restoration kit will fix structural damage. These headlights need replacing.
When in doubt, start with a less aggressive option. You can always move to sanding if polishing doesn’t deliver the results you need.
Common Headlight Restore Mistakes to Avoid
- Skipping protection after restoration
This is one of the most common mistakes we see. Without UV protection, the clarity fades quickly , sometimes within a few months. The sealant or film is what makes the results last.
- Over-sanding or sanding unevenly
Sanding removes material permanently. Pressing too hard or working one area more than another creates uneven patches that are visible once the lens dries.
- Using restoration products on cracked lenses
Restoration can’t repair cracks or structural damage. If the lens is compromised, the only proper solution is replacement.
What to Do After Restoring Headlights
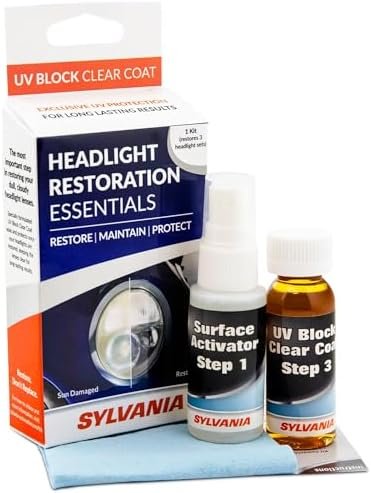
- Apply UV protection
Whether the kit includes a sealant or you apply one separately, this step is essential. UV protection slows down the oxidation process and keeps the lenses clear longer.
- Wash gently and avoid harsh chemicals
Once restored, treat the headlights carefully. Aggressive cleaners or rough cloths can damage the fresh surface and reduce how long the clarity lasts.
Restoration works best when protected. The results are temporary if you skip the final sealing step.