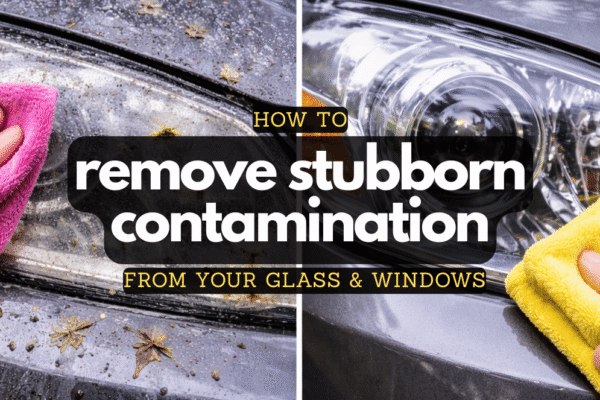
Car Polishing Products for Gloss and Paint Correction
Top Picks Worth Considering
Click through to check today's price and availability from trusted retailers.
- All brands
- 3D Car Care
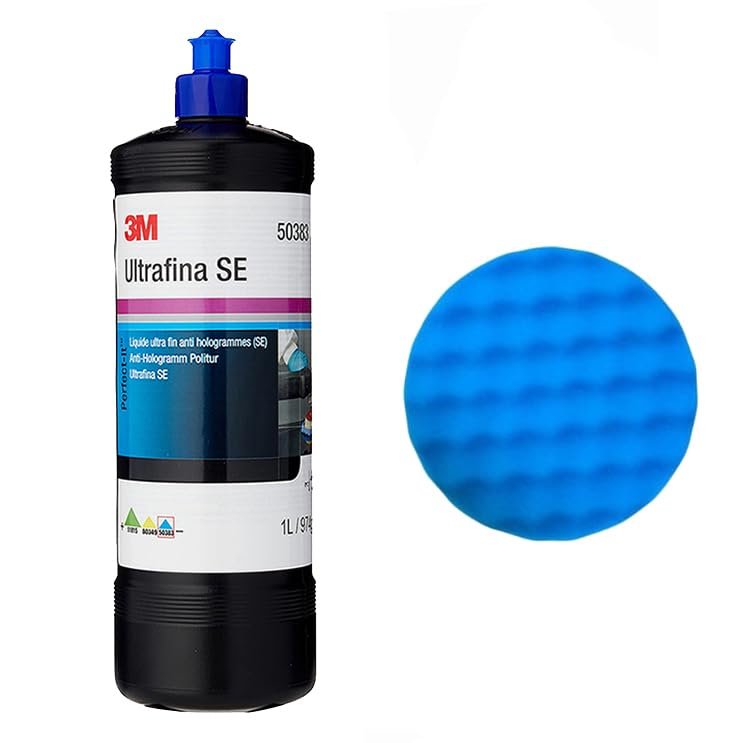
- 3M
- ACDelco Tools
- Adams Polishes
- AngelWax
- Armor All
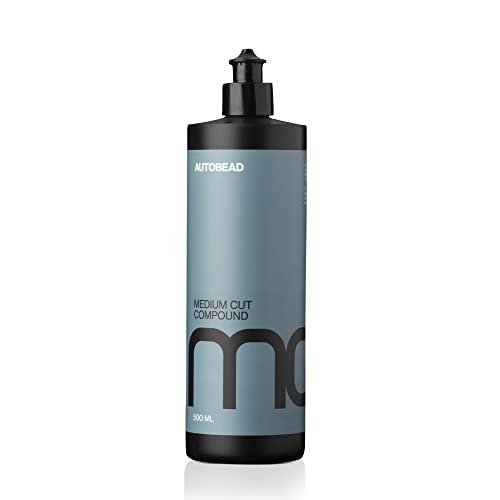
- AutoBead
- Autobrite Direct
- Autoglym
- Autosol
- byczone
- Car-Zone
- carron
- Cerakote
- Chemical Guys
- Etoolab
- Farécla
- Formula 1
- G3 Pro
- Generic
- Ginour
- Griot's Garage
- Hs
- Kenmohuo
- Koch
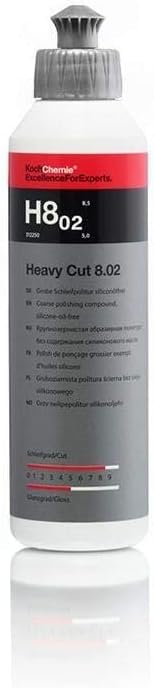
- Koch Chemie
- Lake Country
- Meguiar's
- menzerna
- Milwaukee
- Mmdbd
- Mothers
- Perfect-It
- Rain-X
- Rupes
- Ryobi
- Simoniz
- Sonax
- Spta
- Sylvania
- T-Cut
- TCP Global
- Triplewax
- Wizards
- Rating: High to Low
- Rating: Low to High
- Title: A → Z
- Title: Z → A
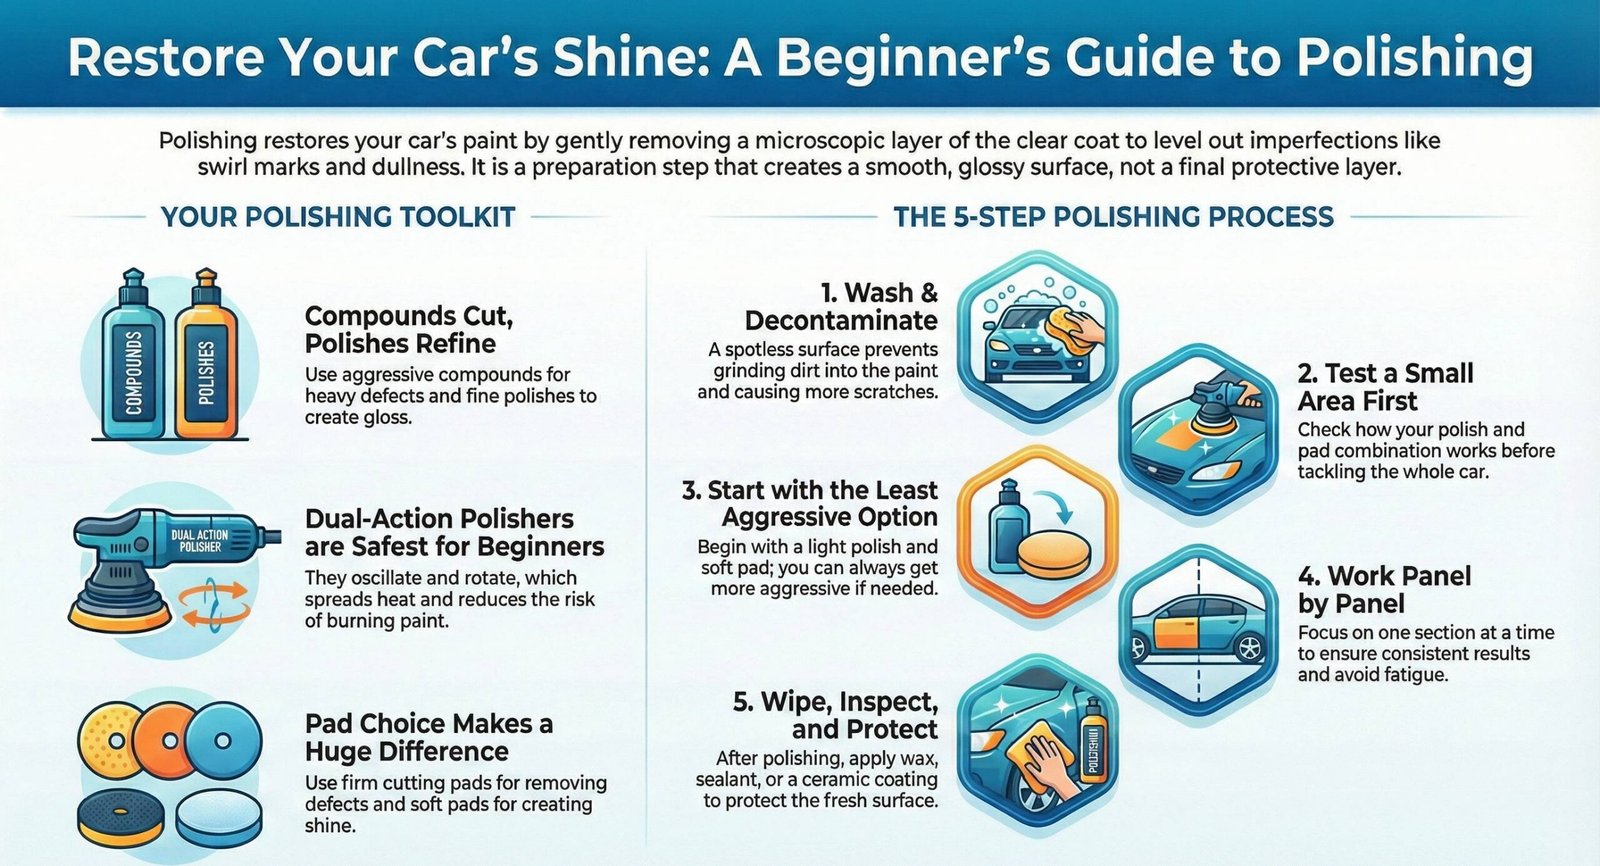
What Polishing Actually Does (and What It Doesn't)
Polishing improves paint by levelling out defects, not hiding them. When your paint looks dull or covered in fine scratches, it’s because the clear coat has become uneven. Light bounces off these imperfections instead of reflecting cleanly.
Washing and waxing won’t fix this. Polishing works by gently removing a microscopic layer of clear coat to restore a smooth, flat surface. The result is deeper gloss and clarity.
We’ve found that most people overestimate how aggressive they need to be. Paint correction isn’t about stripping away material. It’s about bringing back that mirror finish without overdoing it.
What polishing won’t do: fix deep scratches that go through the clear coat, repair stone chips, or protect the paint on its own. It’s a preparation step, not a final finish.
When Polishing Is Worth Doing
There are a few clear signs that polishing will make a real difference. If your paint looks dull even after you’ve washed and decontaminated it, that’s often oxidation or light swirling affecting how the clear coat reflects light.
Swirl marks show up most in direct sunlight, especially on darker colours. They’re fine scratches from years of washing, and they scatter light instead of reflecting it cleanly. Polishing levels these out.
Headlights are another common candidate. UV damage causes the plastic lens to go cloudy and yellow. Polishing can restore most of that clarity, though the results won’t last without protection.
From what we see in reviews, people are often surprised by how much of a difference polishing makes on older or neglected paintwork. The car doesn’t need to be in terrible condition. Even light improvement in gloss is very noticeable.
Polishing isn’t something you do frequently. Once or twice a year is typical for most cars, and less often if the paint’s well maintained. It’s usually done before applying wax, sealant, or ceramic coating so the protection bonds to a clean, smooth surface.
What You Actually Need to Polish Your Car
Polishing sounds intimidating, but most people only need a small setup to see real improvement.
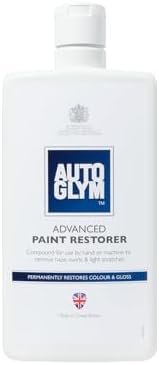
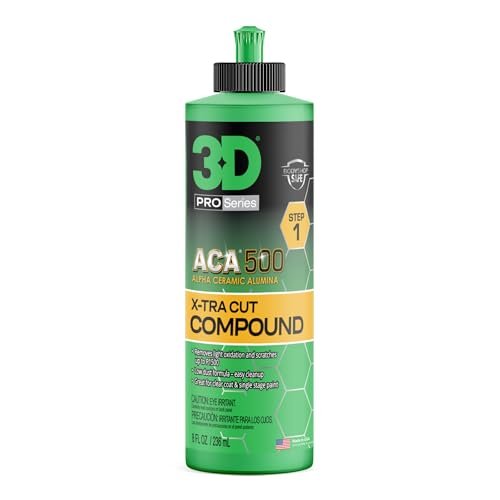
Compounds & Polishes
Compounds are designed for cutting. They’re more aggressive and remove defects like deeper scratches, oxidation, and heavy swirling. Polishes are for refining. They smooth the surface after compounding and bring out gloss.
In practice, many modern products blur the line. You’ll see terms like all-in-one polish or one-step compound. These are designed to cut and finish in a single application, which works well for light to moderate correction.
What stands out from our experience is that people often grab the most aggressive product first, thinking it’ll get the job done faster. Starting mild is safer. You can always step up if the results aren’t there, but you can’t undo damage from being too heavy-handed.
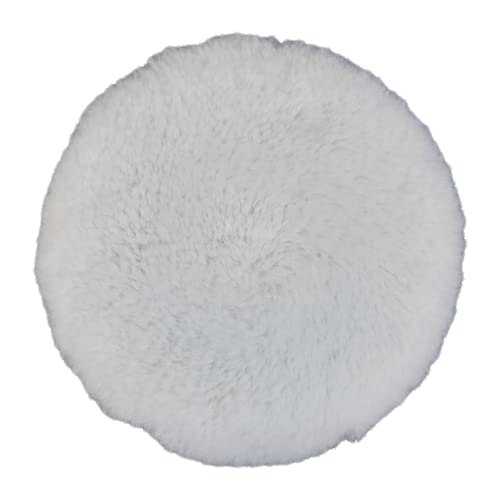
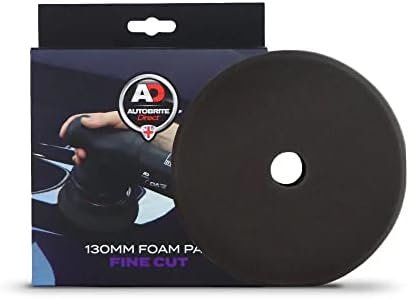
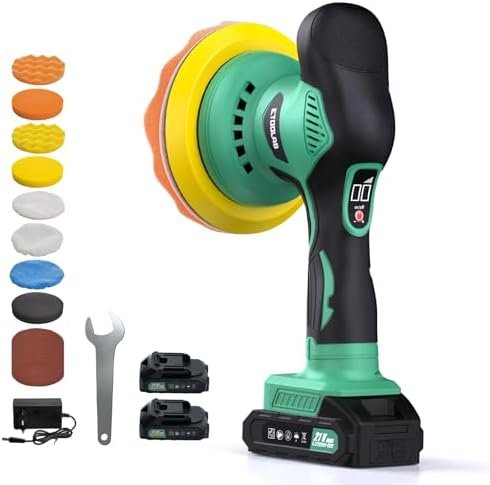
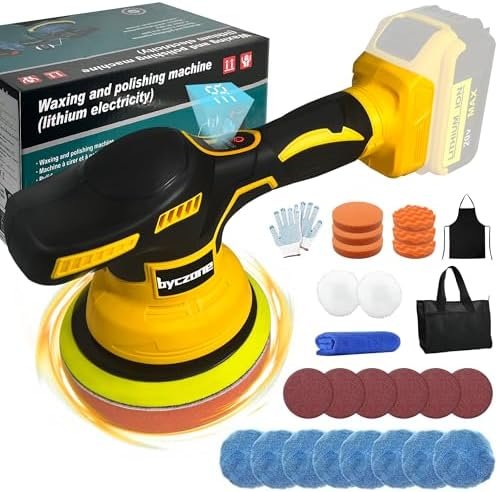
Polishers & Pads
Hand polishing is possible, but it’s slow and tiring. For small areas or light touch-ups, it works. For a full car, a machine makes the job manageable.
Dual-action polishers are the safest option for beginners. They oscillate and rotate at the same time, which spreads the heat and reduces the risk of burning through the clear coat. Rotary polishers are faster and more aggressive, but they require more skill. We’d only recommend them if you’re confident or working on heavily damaged paint.
Pads come in different levels of firmness. Cutting pads are firmer and work with compounds to remove defects. Polishing pads are softer and bring out the shine. Finishing pads are the softest and are used for final passes or applying wax.
What we see in reviews is that pad choice makes more difference than most people expect. The same polish behaves very differently depending on whether you’re using a firm cutting pad or a soft finishing pad.
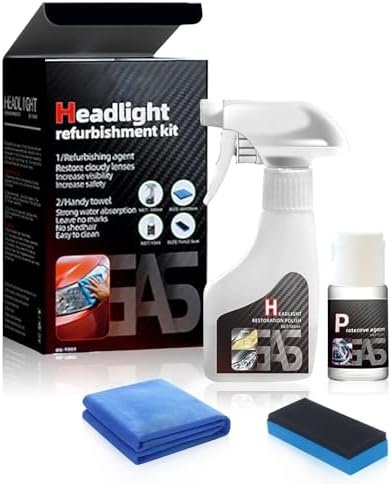
Headlight Restoration Products
Headlights go cloudy because UV rays break down the plastic lens. Washing won’t touch it. The oxidation sits on the surface, and it needs to be polished away.
Most headlight kits include a combination of sanding pads and polishing compounds. The sanding removes the worst of the oxidation, and the polish smooths and clears the lens. Some kits are polish-only, which work for lighter clouding.
From our experience, the visual improvement is one of the most dramatic you’ll see on a car. Cloudy headlights make the whole car look tired, and clearing them up makes a big difference.
The results do fade over time unless you protect the lens afterwards. UV sealants or films can extend how long the clarity lasts, but most people find they need to repeat the process every year or two.
→ View Headlight Restoration Products
Scratch Fix Products
Scratch fix products are designed for light surface scratches and scuffs. If you can catch your fingernail in the scratch, it’s too deep for most scratch removers to handle fully.
What these products do is fill or level the scratch enough to make it less visible. They don’t remove deep damage. For scratches that go through the clear coat into the paint or primer, you’re looking at professional repair or touch-up paint.
The results depend a lot on the severity of the scratch. Light swirl marks and scuffs respond well. Deeper scratches might improve in appearance, but they won’t disappear completely.
This is where a lot of disappointment comes from, simply because expectations don’t match what the product is designed to do. These products work best when you’re realistic about what they can achieve.
How to Choose the Right Polishing Products
- For light swirls and dull paint
Start with a one-step polish and a finishing or polishing pad. This handles surface-level correction without being overly aggressive. Test a small section first to see if it’s enough. - For older or neglected paint
A compound followed by a polish gives you more control. Use a cutting pad with the compound to tackle heavier defects, then refine with a softer pad and polish to bring back gloss. - For beginners polishing by hand
Stick with a mild all-in-one polish and a foam applicator. It’s slower, but you won’t risk damaging the paint. Focus on small areas like the bonnet or door panels rather than the whole car. - For DIY machine polishing
A dual-action polisher is the safest starting point. Pair it with a light polish and a soft pad for your first attempt. Most people find they can get good results without needing heavy compounds.
If you’re unsure, less aggressive is usually better. Polishing is one of those tasks where patience gets better results than power. You can always do a second pass if the first one doesn’t cut deep enough.
Recommended Polishing Order
- Wash and decontaminate the car
Polishing dirty paint just grinds contamination into the clear coat. Make sure the surface is spotless before you start. - Test a small area first
Pick a section like the door or rear quarter panel. This shows you how the polish behaves and whether you need to adjust your technique or product choice. - Start with the least aggressive option
Begin with a light polish and a soft pad. If it’s not cutting through the defects, step up to a firmer pad or a more aggressive compound. - Work panel by panel
Don’t try to do the whole car in one session. Focus on one panel at a time, and take breaks. Polishing when you’re tired leads to mistakes. - Wipe down and inspect
After each section, remove the polish residue and check your work in good light. You’ll see whether you need another pass or if you’ve achieved the finish you want.
We always recommend testing first. Every paint type responds differently, and what works on one car might be too aggressive or too mild on another. Starting cautious gives you room to adjust without causing damage.
Common Polishing Mistakes to Avoid
- Using too aggressive a compound
People assume heavier cutting means faster results. In reality, it just means more risk. Most swirls and light oxidation respond to mild polishes. Save the heavy compounds for serious defects. - Skipping decontamination
Polishing over bonded contamination drags particles across the paint and causes more scratches than you’re removing. Always clay bar or use an iron remover first. - Polishing dry or with dirty pads
Pads need to stay lubricated, and polish needs to break down properly as you work. Letting the pad dry out or get caked with residue creates friction and burns the paint. Rinse pads regularly and keep the surface wet. - Expecting miracles from one pass
Paint correction is incremental. One pass with a light polish won’t erase years of neglect. It’s fine to do multiple passes, but take your time and check your progress between each one.
What we see most often is frustration from unrealistic expectations. Polishing improves paint, but it’s not magic. Deep scratches, chips, and damage through the clear coat won’t disappear. Understanding what’s possible keeps the process enjoyable instead of disappointing.
What to Do After Polishing
Polished paint looks brilliant, but it’s also unprotected. You’ve just removed a layer of clear coat, so the surface needs sealing.
Wax is the traditional choice. It’s easy to apply and gives a warm, deep shine. Sealants last longer and tend to be more durable, though they don’t always have the same visual depth as wax. Ceramic coatings offer the longest protection and the highest gloss, but they’re more involved to apply.
From our experience, the best protection is the one you’ll actually use. If wax is quick and easy for you, it’s better than a ceramic coating you put off applying for months.
The other benefit of protection is that it makes future washing easier. Dirt doesn’t bond as strongly, and water beads off instead of sitting on the paint. This reduces the risk of new swirls forming.
If you’re planning to polish regularly, protection becomes even more important. Each time you polish, you remove a tiny amount of clear coat. Keeping the paint protected between sessions means you’re polishing less often, which preserves the clear coat over the long term.
FAQs
What's the difference between compound and polish?
Compounds contain more abrasive particles for heavy defect removal, while polishes are finer and used for refining the finish.
Can I polish by hand?
Hand polishing is possible but time-consuming and less effective. A dual-action polisher is highly recommended for better results.
How often should I polish my car?
Only when needed to remove defects. Over-polishing removes clear coat. Aim for every 1-2 years or when defects become noticeable.
Do I need to polish before ceramic coating?
Yes, polishing removes defects and ensures a perfect surface for coating application. Skipping this step can lock in imperfections.
Related Insights and Articles
Explore More Categories
Discover more of our curated buying guides to continue your research.